 |
| Piano Music Scrabble Tile Tote |
Saturday, November 24, 2012
Gift Guide Feature
Have you seen it? My piano bag was featured in a gift guide! Here is is in the Macaroni Kid online newsletter. I have even more music bags now, so be sure to check them out in my Southpaw Crafts etsy store
Wednesday, November 14, 2012
A Little Bit of Heaven

Monday, November 12, 2012
Welcome :)
Welcome to the Southpaw Crafts blog.
I'm Margaret and I'm the CCO, chief creative officer. I'm a left (southpaw) who was raised in the south. I now live in a different part of the south. I married a South and look what happened (see picture). Not one of those 5 cute kiddos is a lefty, but they are all mine and I love them and their blue eyed Daddy.
For more about me visit my "About" page on etsy. It even has a picture of me with my hair not in a pony tail!

Saturday, November 10, 2012
DIY Simple Easel

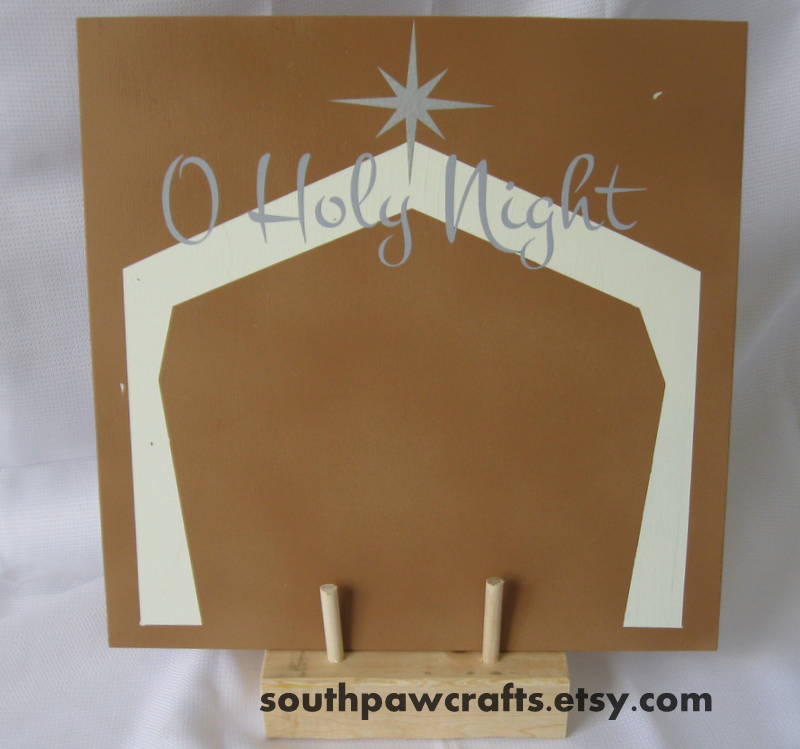

As I was finishing up my wood block nativity I realized I needed some way to make the stable stay up. I used 1/4" MDF to make the 12 inch square stable so there was no way it was going to stand independently. After lots of looking around and research at craft stores I decided I could make my own simple easel.
Ingredients:
5" piece of 2"x4"
5/16" dowel
Tools:
drill
5/16" bit
saw
The rest is self explanatory from the first picture, but in case you want to read about it anyway.....
1. Cut the 2"x4" using a real saw (my miter box took waaaaaaay too long).
2. Cut two short dowel pieces approx 2" and one longer piece approx. 6" long.
3. Drill three partial depth holes in your 2x4 in a triangular pattern. (see top picture)
4. Push dowel pieces into holes with the long piece in the back.
5. Presto - be impressed - you made an easel.
6. Paint if so desired. You could even glue the dowels in if you want. I choose to leave mine unglued so I could take them out for storage if I wanted to.
Wednesday, November 7, 2012
Craft Fair!!

So looking on the bright side, I did make some money. I do have lots of inventory ready to ship. I now have fitted tableclothes, signs, onesie display rack, etc.
Lessons learned:
1. BRING YOUR CAMERA!
2. It really does take 2 or more people to set up those canopies. Fortunately I had help.
3. It is possible to over prepare.
4. Credit card readers may be great for some people, but I only lost 1 sale due to not taking cards. I guess it depends on the event you are attending.
5. Crafters are happy, helpful people. Everyone seemed to help everyone else in setting up tents and taking them down too.
Subscribe to:
Posts (Atom)