Wednesday, January 9, 2013

Music Tote Giveaway

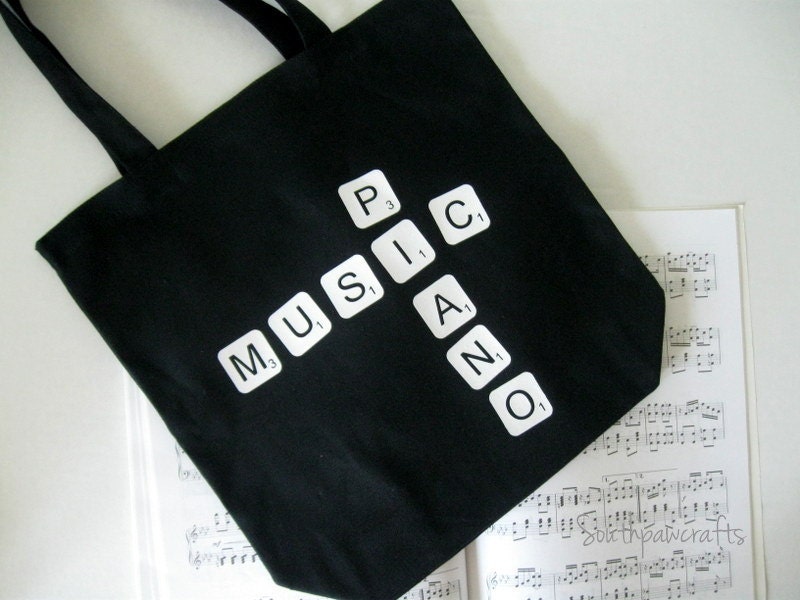
With a new year comes a new focus here at Southpaw Crafts - music totes and accessories!!  Head on over to Southpaw Crafts FB page and like Southpaw Crafts for your chance to win your choice of one music tote from Southpaw Crafts' etsy store. Details on facebook, but here they are for you non-facebook-ians. (Non-facebook-ians can follow this blog by email for a chance to win. Just leave a comment on the blog telling me you are an email follower and I'll add you to the drawing.)

"Okay, musically minded people. I'm looking for a few good piano teachers (2 or even 3 anywhere in the USA) who would be interested in a hanging plaque with their studio name on it. Free in exchange for pictures of it hanging in your studio. Reply here or message me if you are interested. 

Those of you who don't teach piano, please share the love and spread the word because at 100 likes on Facebook I'll giveaway your choice of 1 music tote bag from my etsy store! 

Enter by sharing this post, commenting here, or being a new like on facebook."

Got Music - Music Tote Bag  Keep Calm and Practice On Canvas Tote with Music Note or Grand Piano   Piano Guy or Gal Music Tote Bag  Violin or Viola Music Scrabble Tile Tote Bag - Music Tote

Friday, December 7, 2012

Paper Clip Angels - my way

Simple, inexpensive, cute, angel ornaments are perfect for small gifts, tree decorations or even holiday jewelry. I saw this idea on pinterest and then googled it too. And there are many listings on how to make these cuties, but here's my take on it.

First you need to know that these paper clips are called ideal clamps and aren't as easy to find as you may think. Try an office supply store.

The beads are 12mm pearl beads. Again, these weren't available everywhere. Finally found them at my favorite fabric store, but couldn't find them at a craft store.

The ribbon is 1/8" wide ribbon and fortunately easy to find.


1. Use a small nail to make sure the bead hole is open.

2. Fold ribbon in half. Then fold cut ends around loop of floss threader. Place bead on floss threader.
3. Pull bead over threader onto ribbon.

4. With bead on ribbon, place ribbon through paper clip as shown.

5. Place loop of ribbon over bead.

6. Pull tight.

7. Make a knot above the bead and at the ends of the ribbon.
8. Congratulations you have a beautiful angel ornament.


Saturday, November 24, 2012

Gift Guide Feature

Have you seen it? My piano bag was featured in a gift guide!  Here is is in the Macaroni Kid online newsletter. I have even more music bags now, so be sure to check them out in my Southpaw Crafts etsy store

Piano Music Scrabble Tile Tote Bag - Music Tote
Piano Music Scrabble Tile Tote

Wednesday, November 14, 2012

A Little Bit of Heaven

When I first saw this quote/sentiment, I thought of two of my friends who lost children as babies. At the craft fair this plaque drew tears on more than one occasion. Loss is hard. Grief is hard. If you know someone who could benefit from this 8"x8" MDF plaque (can be a wall hanging too) it is available by special request only.

Monday, November 12, 2012

Welcome :)

Welcome to the Southpaw Crafts blog.

I'm Margaret and I'm the CCO, chief creative officer. I'm a left (southpaw) who was raised in the south. I now live in a different part of the south. I married a South and look what happened (see picture). Not one of those 5 cute kiddos is a lefty, but they are all mine and I love them and their blue eyed Daddy.

For more about me visit my "About" page  on etsy. It even has a picture of me with my hair not in a pony tail!


Saturday, November 10, 2012

DIY Simple Easel


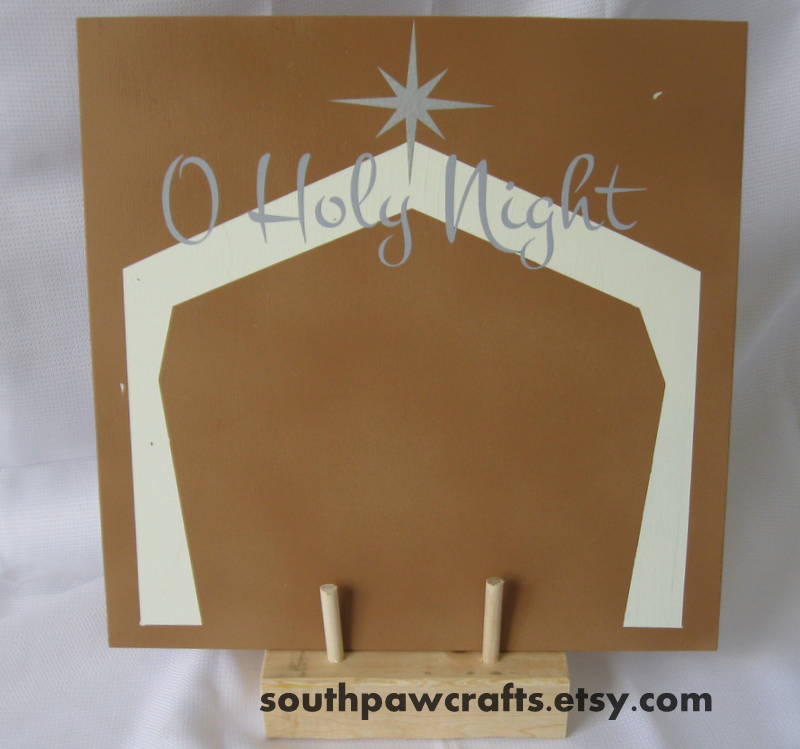
As I was finishing up my wood block nativity I realized I needed some way to make the stable stay up. I used 1/4" MDF to make the 12 inch square stable so there was no way it was going to stand independently. After lots of looking around and research at craft stores I decided I could make my own simple easel.

Ingredients:
5" piece of 2"x4"
5/16" dowel

Tools:
drill
5/16" bit
saw

The rest is self explanatory from the first picture, but in case you want to read about it anyway.....
1. Cut the 2"x4" using a real saw (my miter box took waaaaaaay too long).
2. Cut two short dowel pieces approx 2" and one longer piece approx. 6" long.
3. Drill three partial depth holes in your 2x4 in a triangular pattern. (see top picture)
4. Push dowel pieces into holes with the long piece in the back.
5. Presto - be impressed - you made an easel.
6. Paint if so desired. You could even glue the dowels in if you want. I choose to leave mine unglued so I could take them out for storage if I wanted to.

Wednesday, November 7, 2012

Craft Fair!!

Here is my one and only picture of my booth at the craft fair thanks to Jessica at the booth next door. The weather was perfect - mild day (low 80s), a little breeze, no snow (oh wait this is TX), no rain, etc. The crowd apparently thought the weather was perfect too because I think they were all out playing soccer or something. (Just kidding). I'm not sure if it was the normal crowd or not, but now I know why you only find blog posts about successful craft fair experiences. No one wants to write about anything less than a sparkling success.

So looking on the bright side, I did make some money. I do have lots of inventory ready to ship. I now have fitted tableclothes, signs, onesie display rack, etc.

Lessons learned:
1. BRING YOUR CAMERA!
2. It really does take 2 or more people to set up those canopies. Fortunately I had help.
3. It is possible to over prepare.
4. Credit card readers may be great for some people, but I only lost 1 sale due to not taking cards. I guess it depends on the event you are attending.
5. Crafters are happy, helpful people. Everyone seemed to help everyone else in setting up tents and taking them down too.

Related Posts Plugin for WordPress, Blogger...