Tuesday, February 11, 2014

Clean Dirty Dishwasher Magnet Tutorial using Silhouette Studio

Hi Friends and Fellow Crafters,

Today I'm sharing how you can create your own dishwasher magnet using silhouette studio. I sell this item in my Southpaw Crafts etsy store. It's so simple and fun to make I thought I'd teach you how to do it yourself. This tutorial is for personal use only. :)

Even brand new silhouette users can go from zero to dishwasher magnet hero using my comprehensive tutorial. I put the tutorial in PDF format because honestly I'm better at using silhouette studio than using blogger and uploading the pictures was driving me bonkers. Maybe you can relate?

You'll need your silhouette, a small piece of vinyl (outdoor vinyl is recommended but indoor vinyl would work as well), and magnetic sheeting. Silhouette sells magnet sheets as do craft stores. You might also find magnet sheets at your local hardware store sold as magnetic vent covers. (Now you know my secret source.)

So without further delay click on over to my google drive PDF document:
Full Dishwasher Magnet Tutorial PDF.

Happy creating! 

Monday, February 10, 2014

Minecraft Pillow Covers

A few months ago I shared this tutorial on another blog. Now it's available here and you can download the minecraft silhouette studio file I created!!

If you have Minecraft fans in your house (confession I've never played it myself, but I hear lots about it), you'll recognize the pixelated images as the diamond sword and TNT.


Here's what you need to make your own 14" x 14" pillows:

black iron on vinyl (a 7.5"x15" piece and a 12"x15" piece)
brown iron on vinyl (scrap or 7.5"x15" piece)
green apple iron on vinyl (7.5"x15" piece - optional if you use green fabric)
green iron on vinyl (7.5"x15" piece)

14"x14" pillow form from craft store
1/2 yard red cotton fabric (prewashed and ironed)
1/2 yard green cotton fabric (prewashed and ironed)
1/3 yard white cotton fabric (guess what you need to do to it.... yep, wash and iron)
thread

Equipment:
iron
vinyl cutter
sewing machine

1. First things first - prewash your fabric! This is a must using iron on vinyl. You don't want the fabric to shrink and distort and wrinkly your lovely design. So make sure the fabric is done shrinking.

2. Front of pillow covers:
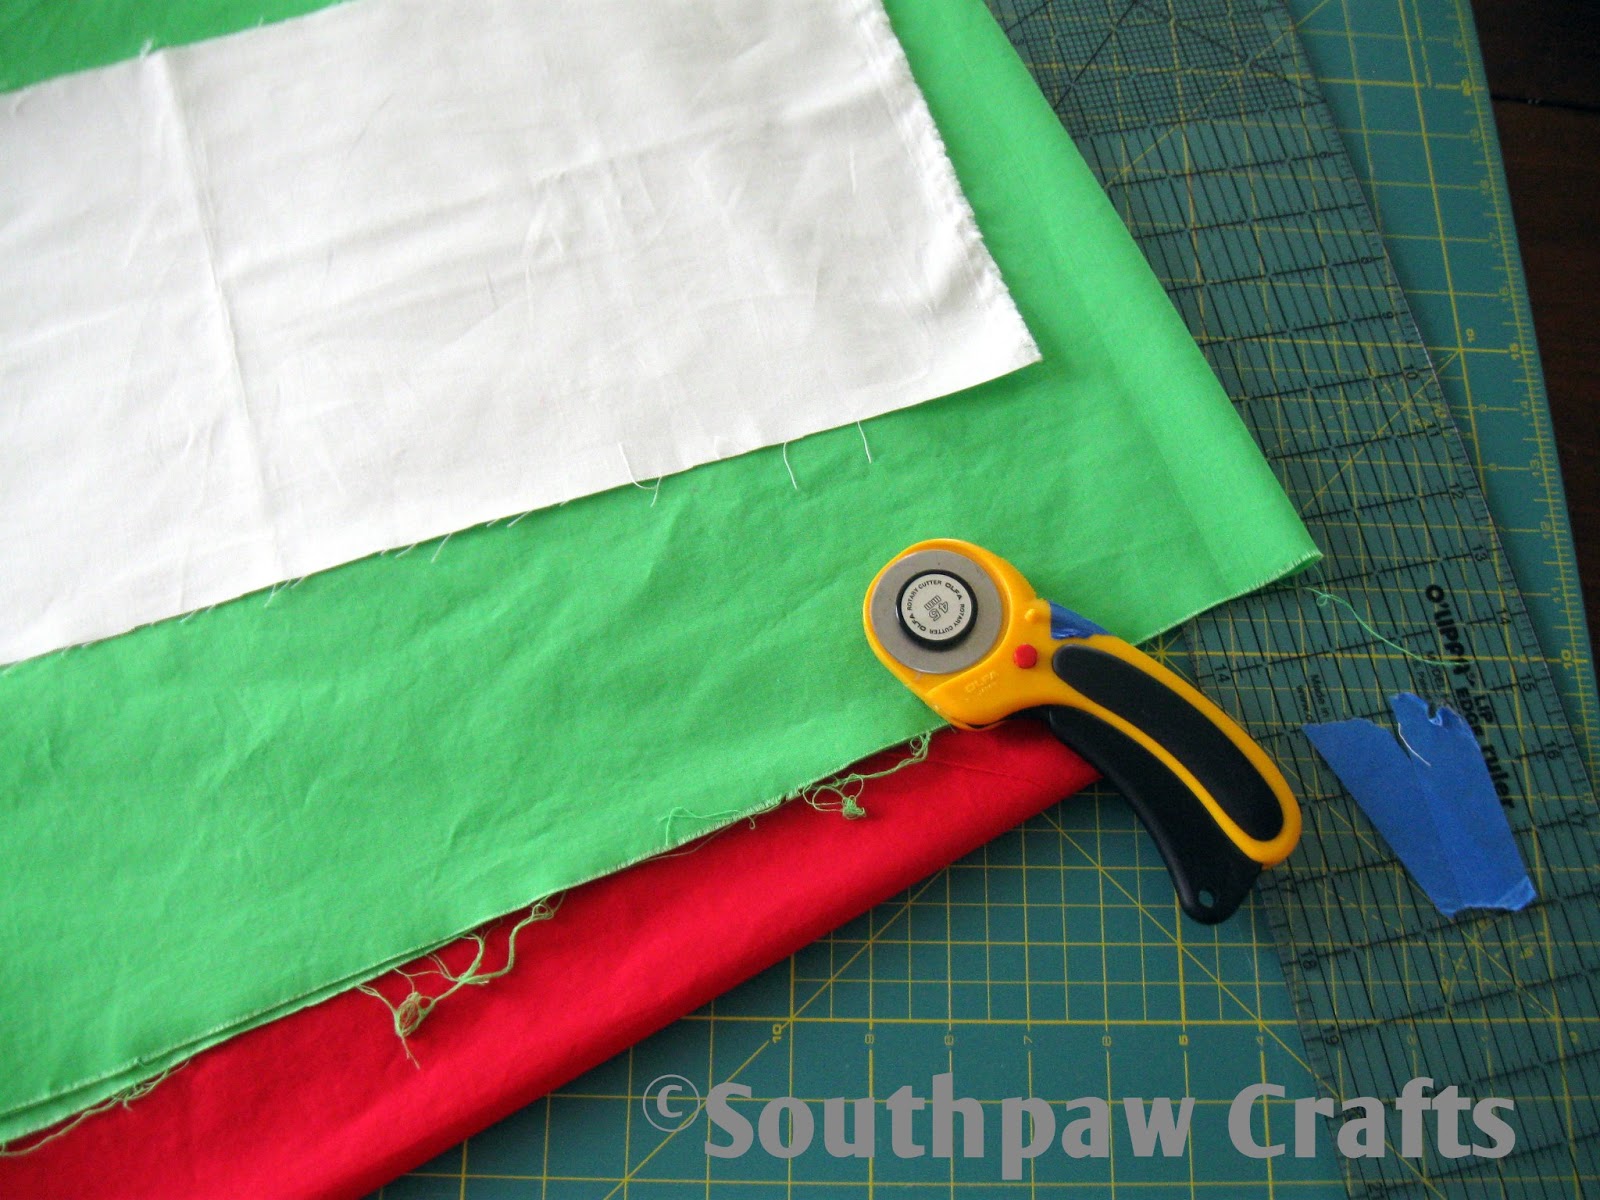
    For the front of the TNT pillow cut two red strips 5" x 14.5" and one white strip 5.5" x 14.5". Sew these together with a 1/4" seam and iron the seam towards the red. Trim to 14.5"x14.5" if necessary.
    For the front of the green pillow cut a piece of fabric 14.5" x 14.5".

3. Back of pillow covers:
     Cut two 10" x 14.5" pieces for each pillow. One one long (14.5") side of each piece, make a small hem (fold over twice, iron, and sew).


4. Now you're ready for the fun stuff - cut your vinyl design (remember it needs to be mirror image) and iron it on! The TNT pillow is one layer vinyl - easy peasy. Experiment with a scrap of iron on vinyl before ironing the design onto your pillow cover front. With my home iron I found that a dry iron (no water, no steam) on the wool setting worked with 25 seconds of firm pressure. Your iron will be different so get to know your iron. The firm pressure really is important though. Then peel plastic off.


The diamond sword pillow is a little trickier. Iron the black outline on first using a few seconds less than you did with the TNT pillow. Peel the carrier paper. Then if you are super careful you can cut the brown and green heat transfer so that the carrier paper doesn't overlap and you can iron them on at the same time. Presto - design on. [picture 6]

5. Now that the design is on the pillow covers it's time to sew the front and back together. This pillow cover has an envelope closure on the back. With right sides together and back finished edges overlapping, pin and sew with a 1/4" seam allowance.


6. Turn your pillow cover right side out and insert pillow form! You now have custom throw pillows for your minecraft lover.

As always, this tutorial is provided for your own personal use only. Feel free to pin!

Thursday, February 6, 2014

Chess Demo Board DIY Vinyl and Magnetic White Board

I made this for chess club at school to use as a demonstration board. The squares and lettering are black craft vinyl. Then I used my 2" circle punch to make green cardstock circles.

I cut the chess pieces out of vinyl and put the designs on the green circles. I laminated it at the office store instead of at the school because I wanted a stiff laminate. Then I glued magnets to the back. I used magnetic sheeting cut into squares (button magnets aren't necessary).

The imperfections are because I used scrap vinyl for the lettering and didn't worry about 100% perfect placement. I could have aligned the design perfectly in silhouette studio and then used transfer tape but that seemed like a waste of vinyl and tape when I had perfectly good scraps. :)

Things I would change - after putting the board on the white board I realized that the room we will use for chess club most of the time has a white board in it. So next time I might try making a laminated board/poster (using the school's thin laminate machine) to hang on the existing white board with magnets. It would be easier to carry around. But that being said, the first chess meeting we ended up in the library which doesn't have a white board so I'm glad I had this one.

Another note - I did use a chess piece design from the silhouette store, but I had to do significant point editing and other alteration to make the design the way I wanted it. It was still easier than starting from scratch though!

P.S. - Did you know that academic/tournament chess sets come with an extra queen? That's why you see an extra black and white piece on my whiteboard.

Monday, February 3, 2014

Enter and Exit Signs in Vinyl

I love librarians. I love to read and so do my kids. So I made these "enter" and "exit" signs for the school library.

You will need the white background on both sides of the door. And it it easiest to apply the black lettering to the white before applying the decal to the door.

The signs have been up an entire school year and are still doing well. I used regular craft vinyl and not outdoor vinyl, but either would work.

I used Times New Roman font and a frame that was 10" by 4".

File: enter exit frame

Thursday, January 30, 2014

Future Missionary Onesie

Any occasion is a good occasion for crafting so when my sister had a baby boy (the first name carrying male for her in-laws) I just couldn't resist.

I used silhouette studio to craft my own "Future Missionary" name tags. It is cut out of black heat transfer vinyl and then the letters are weeded out to reveal the white shirt underneath.

The tie was a little trickier. I used a solid tie shape from the silhouette studio and merged it with a stripe pattern (also from the silhouette store). After the stripes were the way I wanted I added an external offset of the tie to make the tie border. I cut a solid color tie for the background color and a black tie with the stripe parts weeded out as the second layer.

Things I liked about this project: I think it looks cute. I'm not much of a sewing applique type person so this fit the bill nicely. The name tag is priceless and professional looking.

Things I would change: two layers of heat transfer vinyl is really stiff for a baby onesie. So in the end next time I think I would go ahead and sew a fabric tie on the onesie with a heat transfer vinyl name tag.

Another option if I really wanted to stick with heat transfer vinyl would be to make a blue or red or green striped tie with white as the background color. A polka dot tie with white dots would be fairly simple to make also.

Friday, January 24, 2014

Personalized Fance Floral Tote - Craft Cutter Tips

I originally made this design for my etsy shop, but today I'm sharing my tips on how I did it.

First of all, I didn't waste an entire tote bag with a "Your Name" sample. I actually used craft vinyl to put the design on the bad temporarily. That way I can still remove the vinyl and have a tote bag to decorate with heat transfer vinyl.

First, find a background design you like. I used "floral lace" by Jamie Koay, design #17681. Since I intended to sell totes made with this design I purchased the commercial rights.

Second, use the straight knife function in the designer studio edition to cut your design into two pieces. Make sure you use the "Treat unfilled shapes as: solid" function.

Third, pick your favorite font and insert a name!

Fourth, size your design to fit your tote bag and remember to mirror image it before cutting in heat transfer vinyl.

Lastly, apply your design to your bag and enjoy a beautiful creation! (I use a heat press for professional results.)

File: floral bag name

Monday, January 20, 2014

Be YOU tiful Young Women - wood and vinyl craft


I recently got to craft with 20 or so young women ages 12-18.  Every woman, young and old, needs to know inside herself and independent of any other voices that she is beautiful in the sight of her Creator. His love for her is unfailing and unconditional. The phrase "be-YOU-tiful" reminds me of this and I hope it reminds these girls of their divine worth and potential too.

Before the activity I cut the vinyl and the wood (1"x4"s cut into 12" pieces). Several ladies helped me sand them and paint them off white. At the activity the girls used sharpie markers to decorate the vinyl. Then they weeded the vinyl (removed the extra vinyl around the letters) and used transfer tape to put they vinyl on the wood. Several girls got creative and used the markers to further embellish their plaques. Some even wrote their favorite quotes on the back of the boards. It was a fun activity for me and for them.
Related Posts Plugin for WordPress, Blogger...