If you have Minecraft fans in your house (confession I've never played it myself, but I hear lots about it), you'll recognize the pixelated images as the diamond sword and TNT.

Here's what you need to make your own 14" x 14" pillows:
black iron on vinyl (a 7.5"x15" piece and a 12"x15" piece)
brown iron on vinyl (scrap or 7.5"x15" piece)
green apple iron on vinyl (7.5"x15" piece - optional if you use green fabric)
green iron on vinyl (7.5"x15" piece)
14"x14" pillow form from craft store
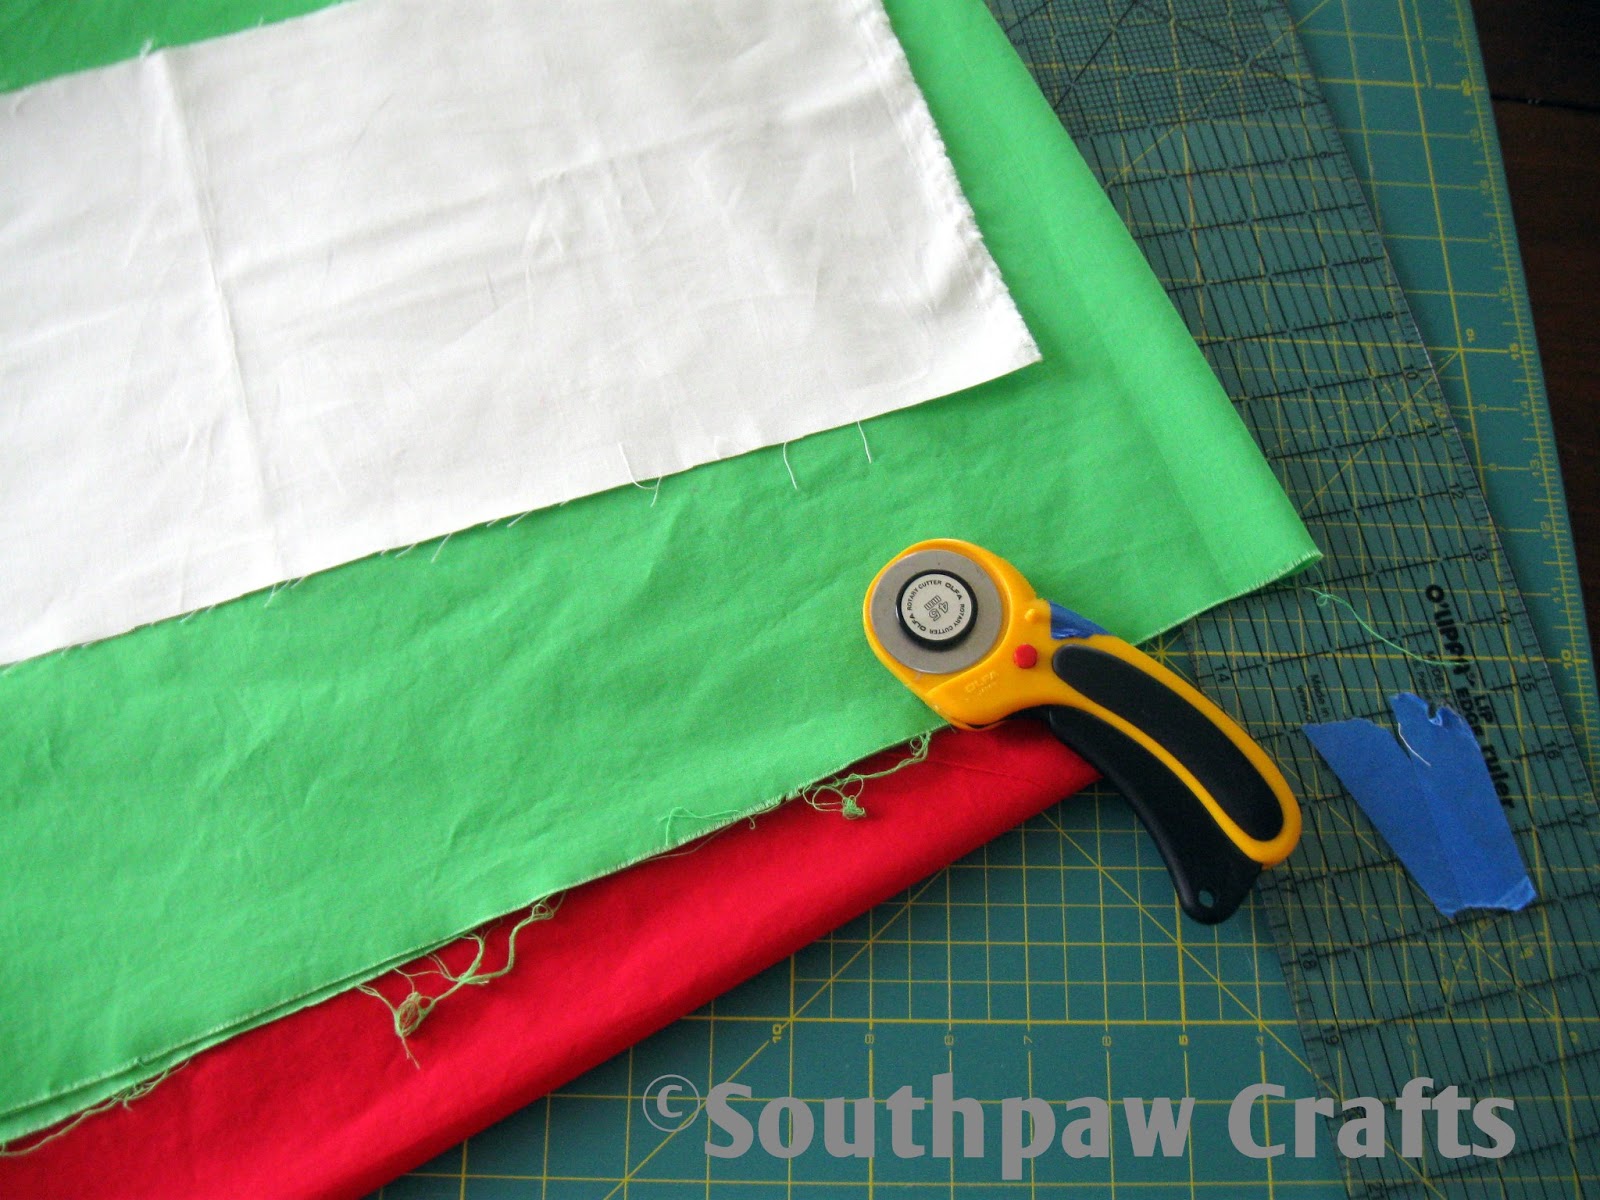
1/2 yard red cotton fabric (prewashed and ironed)
1/2 yard green cotton fabric (prewashed and ironed)
1/3 yard white cotton fabric (guess what you need to do to it.... yep, wash and iron)
thread
Equipment:
iron
vinyl cutter
sewing machine
1. First things first - prewash your fabric! This is a must using iron on vinyl. You don't want the fabric to shrink and distort and wrinkly your lovely design. So make sure the fabric is done shrinking.
2. Front of pillow covers:
For the front of the TNT pillow cut two red strips 5" x 14.5" and one white strip 5.5" x 14.5". Sew these together with a 1/4" seam and iron the seam towards the red. Trim to 14.5"x14.5" if necessary.
For the front of the green pillow cut a piece of fabric 14.5" x 14.5".

3. Back of pillow covers:
Cut two 10" x 14.5" pieces for each pillow. One one long (14.5") side of each piece, make a small hem (fold over twice, iron, and sew).

4. Now you're ready for the fun stuff - cut your vinyl design (remember it needs to be mirror image) and iron it on! The TNT pillow is one layer vinyl - easy peasy. Experiment with a scrap of iron on vinyl before ironing the design onto your pillow cover front. With my home iron I found that a dry iron (no water, no steam) on the wool setting worked with 25 seconds of firm pressure. Your iron will be different so get to know your iron. The firm pressure really is important though. Then peel plastic off.

The diamond sword pillow is a little trickier. Iron the black outline on first using a few seconds less than you did with the TNT pillow. Peel the carrier paper. Then if you are super careful you can cut the brown and green heat transfer so that the carrier paper doesn't overlap and you can iron them on at the same time. Presto - design on. [picture 6]

5. Now that the design is on the pillow covers it's time to sew the front and back together. This pillow cover has an envelope closure on the back. With right sides together and back finished edges overlapping, pin and sew with a 1/4" seam allowance.


6. Turn your pillow cover right side out and insert pillow form! You now have custom throw pillows for your minecraft lover.

As always, this tutorial is provided for your own personal use only. Feel free to pin!
No comments:
Post a Comment